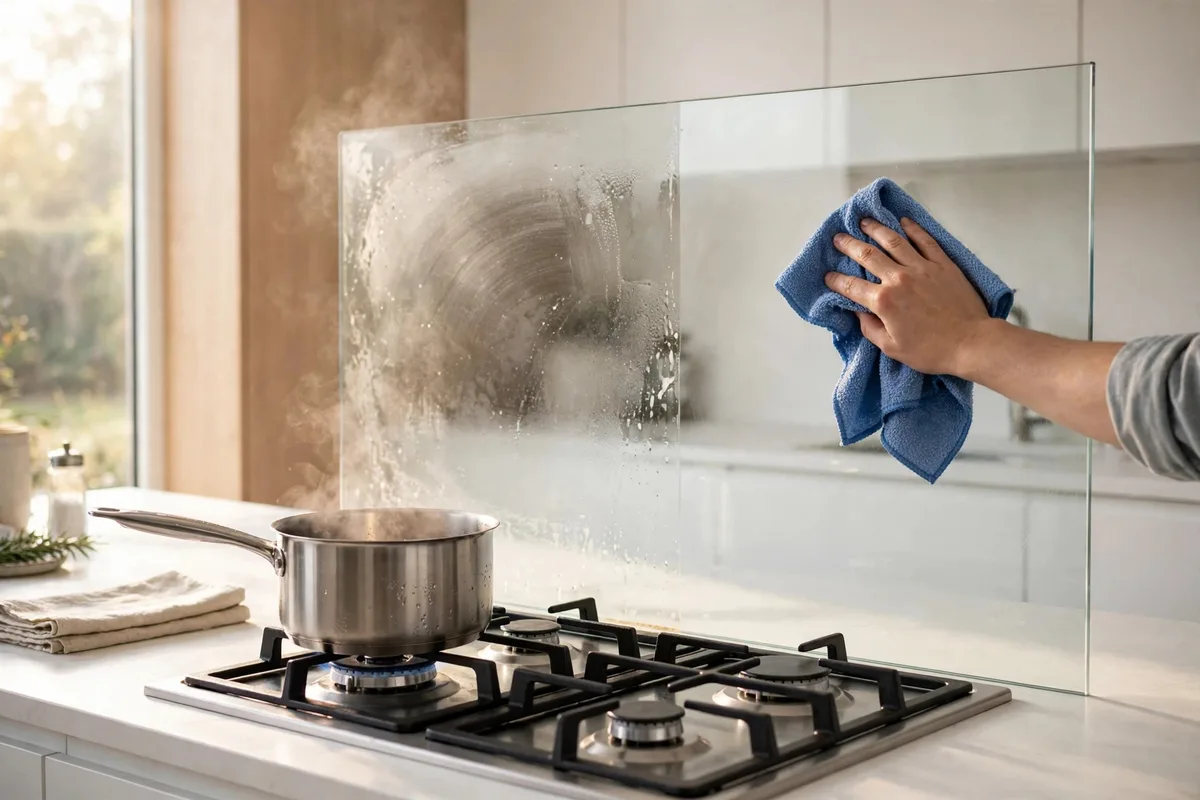
Short answer: How to clean a kitchen splashback properly starts with softening the grease: with a hot, soapy cloth, then wash it down with hot water and a few drops of dish soap, use a baking soda paste only where grease has baked on, then rinse and buff the surface completely dry. The one adjustment that matters is your material: glass, tile, stainless steel, stone and acrylic each have something you should never use on them, and those differences are covered step by step below.
A splashback puts up with more than almost any other surface in the kitchen. Every boil, fry and simmer sends a fine mist of oil and steam onto it, and that film builds up quietly until it turns sticky, dull and hard to shift. The good news is that greasy does not mean difficult: with the right order of steps, a normal clean takes minutes and needs nothing more exotic than dish soap, baking soda and two cloths. Everything in this guide is done with those basics — no specialist degreasers, no steam machine, and nothing that can damage the surface it is meant to clean.
What Is a Kitchen Splashback — and Why It Gets So Dirty
A kitchen splashback is the vertical panel that runs along the wall behind your worktop and hob, from the counter surface up to the underside of the wall units (or higher, behind the cooker). Its job is to take the splashes, steam and heat that would otherwise hit bare plaster or paint, which is why it is usually made from something wipeable: glass, tile, stainless steel, stone, laminate or acrylic.
It gets dirty in a particular way. Cooking oil does not just land on the surface — warm oil vapour settles as a thin film, dust sticks to the film, and heat from the next cooking session bakes the layer a little harder. Around the hob this builds into the familiar yellowish, tacky coating that a quick wipe with a damp cloth only smears around. That is why the method below starts by softening the grease before trying to remove it: once the film is soft, it lifts off instead of spreading.
Before You Start: What You Need and the Safety Rules
You do not need a cupboard of specialist products. For almost every splashback, the full kit is:
- Two microfibre cloths (one for washing, one dry for buffing)
- A soft sponge or non-scratch pad
- An old soft toothbrush, for grout lines and edges
- Dish soap (washing-up liquid)
- Baking soda (bicarbonate of soda)
- White vinegar — for glass and glazed tile only, never for stone
- A bowl of hot water and, if you like, a spray bottle
Three safety rules apply to every cleaning job in this guide:
- Never mix cleaning chemicals. In particular, never mix bleach with vinegar or with ammonia — the fumes are dangerous. This guide uses single, mild products one at a time, rinsed off before anything else touches the surface.
- Let the hob cool first and keep water and spray away from sockets, switches and the hob’s controls and ignition.
- Test first. Whatever the surface, try any new cleaner on a small, hidden corner before using it across the whole panel.
The Core Routine: How to Degrease Any Splashback
This five-step routine is the base clean for every material. The material sections that follow only adjust the details — the order stays the same.
Step 1: Soften the grease
Soak a microfibre cloth in hot water with a drop of dish soap, wring it so it is steaming but not dripping, and lay or hold it over the greasiest area for a minute or two. The heat and moisture loosen the baked film so it lifts instead of smearing. For a whole hob wall, work in sections, re-warming the cloth as you go.
Step 2: Wash with hot, soapy water
Fill a bowl with hot water and a few drops of dish soap. Dish soap is a genuine degreaser — it is made to cut cooking oil — and for normal weekly dirt it is all you need. Wipe the whole splashback from top to bottom with the soapy cloth or a soft sponge, so loosened grime runs down onto an area you have not finished yet rather than across a clean one. Rinse the cloth often; a dirty cloth just redistributes the film.
Step 3: Use a baking soda paste on baked-on grease
Where grease has built up into stubborn patches — usually directly behind the hob — mix baking soda with a little water into a paste, roughly three parts soda to one part water. Spread it over the patch, leave it for five to ten minutes, then work it gently with the soft sponge or cloth. Baking soda is mildly abrasive and alkaline, which makes it good at breaking down acidic grease residues — but keep it to the surfaces listed as suitable in the material sections below, and never scrub hard with it.
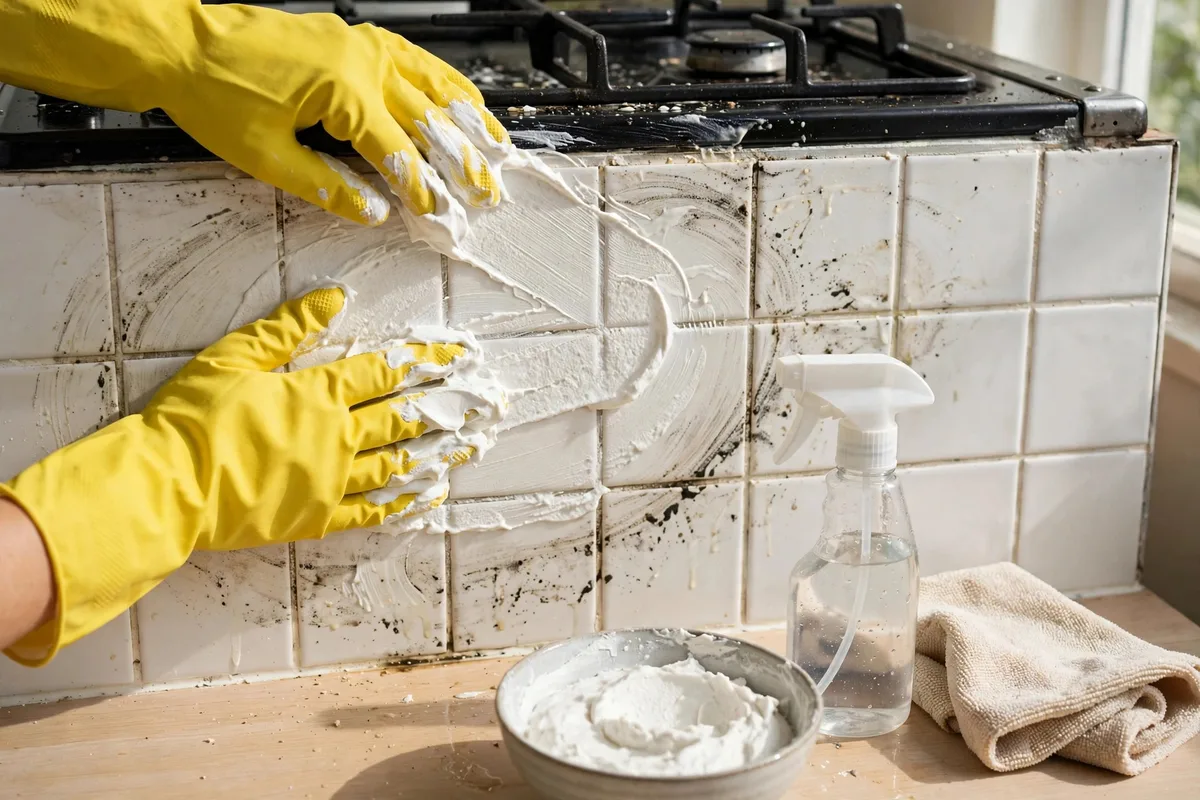
Step 4: Rinse away every trace
Wipe the surface down with a clean cloth rinsed in plain hot water. This step matters more than it looks: soap or paste left behind dries into a new film that attracts dirt faster than the surface would on its own, which is one reason a splashback can look dull again within days of cleaning.
Step 5: Buff completely dry
Finish with the dry microfibre cloth, buffing the whole panel until it is dry and clear. Buffing removes the water marks and streaks that make glass and steel look unclean even when they are not, and a dry surface collects less dust and grease than a damp one.
The routine at a glance: soften with a hot soapy cloth → wash with hot water and dish soap → baking soda paste on baked-on patches → rinse clean → buff completely dry. Five steps, in that order, every time.
How to Clean a Splashback by Material
The routine above is safe in outline for everything, but each common splashback material has one adjustment that makes the clean easier — and one mistake that can mark it permanently.
Glass splashbacks
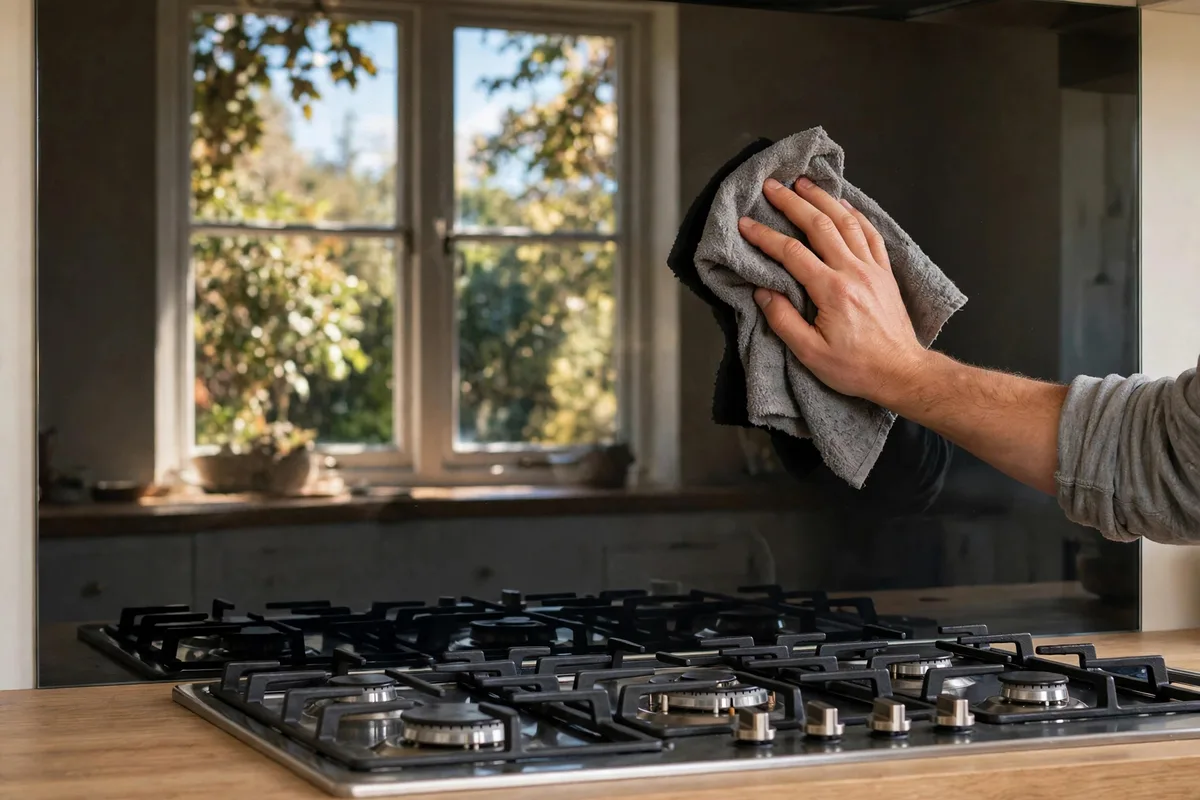
Glass is the easiest splashback to keep looking new, and the least forgiving of lazy rinsing. Run the core routine with dish soap, then, for a streak-free finish, spray on a solution of equal parts white vinegar and water, wipe it over, and buff dry straight away with the dry cloth. Never use scouring powders, abrasive pads or cream cleaners with grit in them on glass: the scratches they leave are fine, permanent, and show up every time the light hits the panel.
Tile and grout splashbacks
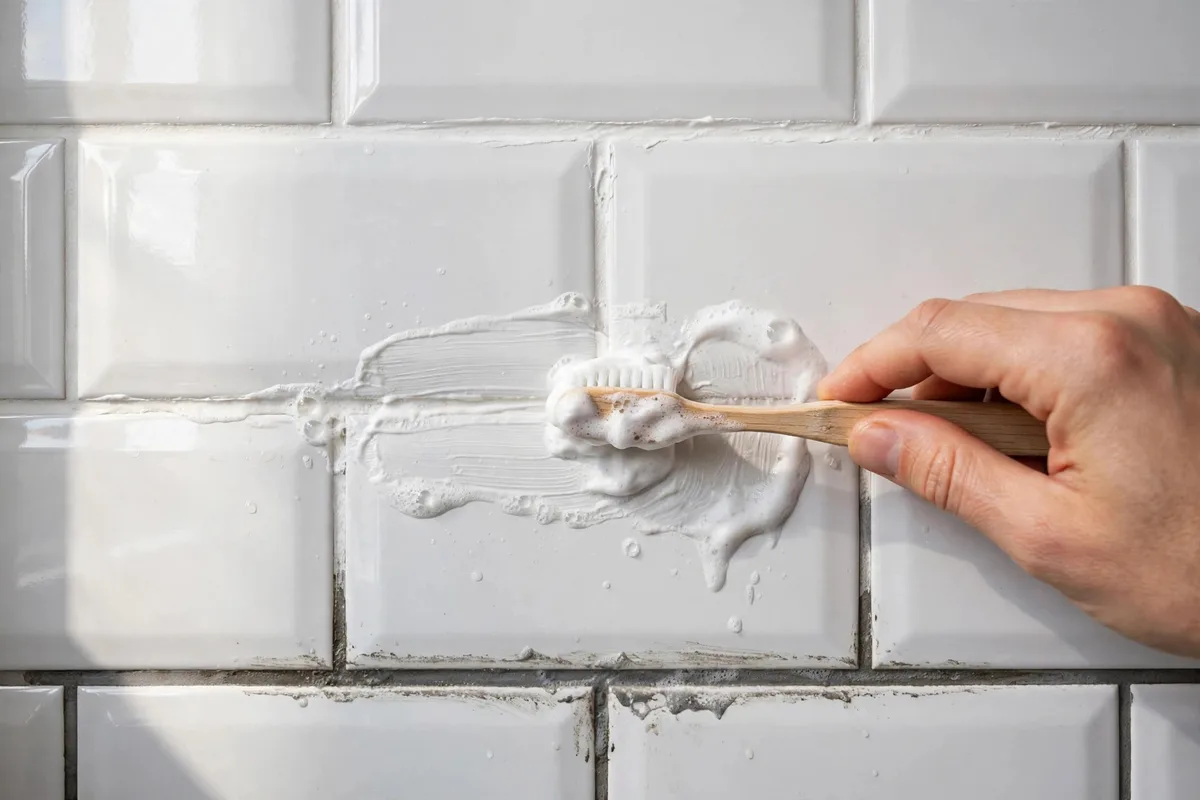
Glazed ceramic and porcelain tiles clean exactly as in the core routine. The weak point is the grout: it is porous, sits slightly below the tile surface, and collects grease and discolouration that a cloth skims over. Work a baking soda paste along the grout lines with the old soft toothbrush, leave it a few minutes, then rinse and buff as normal. Keep vinegar use on tiled splashbacks occasional and well rinsed — used constantly and left sitting, acidic cleaners can dull grout over time. If grout stays dark after cleaning, it may need re-sealing or re-grouting rather than harder scrubbing, which only wears it away.
Stainless steel splashbacks
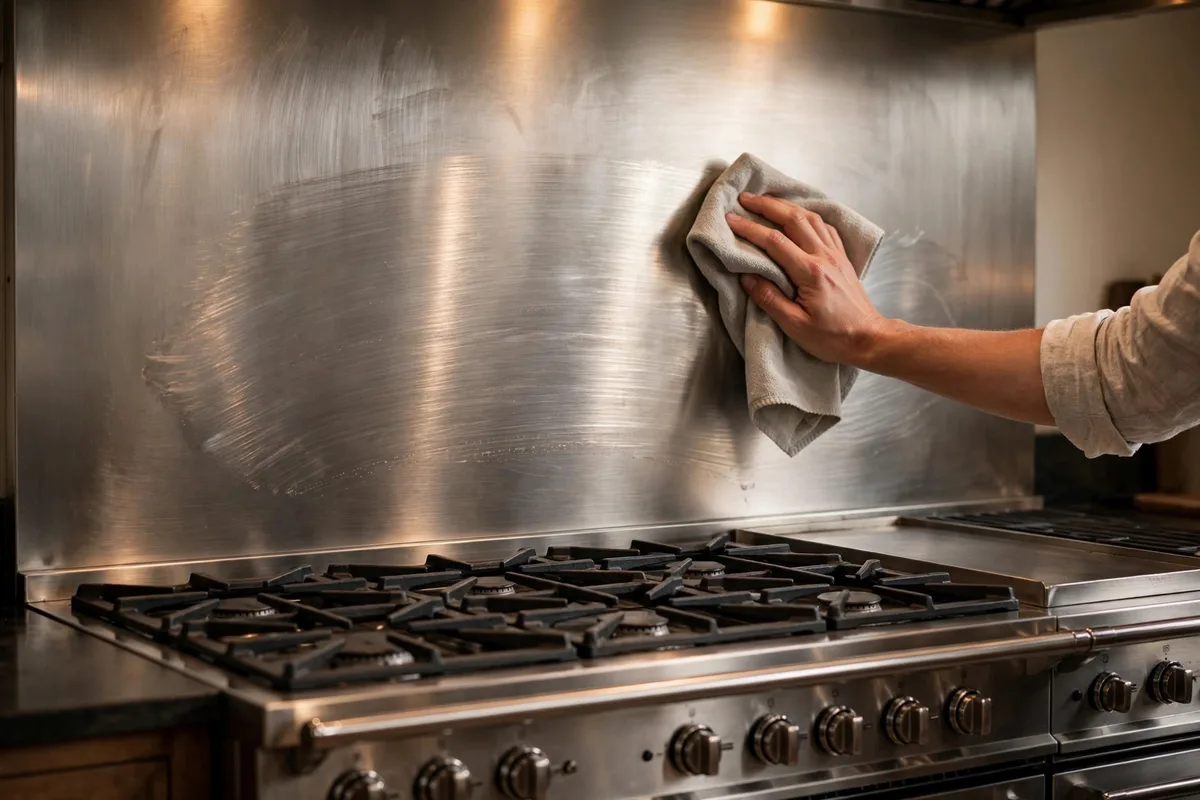
Stainless steel has a visible grain — faint lines running in one direction — and it should always be wiped along those lines, never across them and never in circles. Circular or cross-grain scrubbing shows up as a cloudy patch that no amount of re-cleaning quite removes. Use the core routine with a soft cloth, buff dry along the grain, and avoid steel wool, scouring powders and cleaners containing chlorides (check the label on strong degreasers), which can pit and discolour the finish.
Natural stone splashbacks
Marble, granite and other natural stone splashbacks are the exception to most kitchen cleaning advice: never use vinegar, lemon juice or any acidic cleaner on stone — acid etches the surface and dulls the polish, and the damage cannot be wiped away. Clean stone with hot water and a small amount of pH-neutral cleaner or a drop of dish soap only, rinse well, and dry thoroughly so water does not sit in the surface. Treat spills promptly, and if your stone is sealed, keep to the sealer manufacturer’s guidance on when it needs renewing.
Stone also marks more easily than it cleans: wipe up acidic spills such as tomato and citrus promptly, even mid-cooking, and avoid dragging hot, oily pan bases across the panel’s lower edge where it meets the worktop. If the surface has gone dull in patches, that is usually etching or a worn sealer rather than dirt — more cleaning will not fix it, and a stone specialist is the right next step.
Acrylic and laminate splashbacks
Acrylic and laminate panels are lightweight and affordable, and the softest surfaces in this list. Clean them with the dish-soap wash from the core routine only: no baking soda paste, no salt scrubs, no scouring pads and no abrasive cream cleaners, all of which scratch the surface and leave it looking permanently hazy. Use a soft cloth, avoid soaking the panel’s edges and joints, and dry it afterwards rather than leaving it wet.
Stubborn Marks and Hard-to-Reach Spots
A few problems sit outside the normal routine:
- Baked-on rings and splatter spots behind the hob: repeat the soften step with the hot cloth, then the baking soda paste (on suitable materials), rather than reaching for a stronger chemical or a harder pad.
- Edges, corners and the line where splashback meets worktop: run the soft toothbrush along them with soapy water; an old credit card wrapped in a thin cloth can lift grime out of the seam without scratching.
- The brown, varnished film closest to the burners: this is polymerised oil — grease that heat has hardened. It rarely clears in one pass. Repeat the hot-cloth softening and paste steps two or three times rather than escalating to a caustic oven cleaner; on glass or glazed tile only, a plastic pan scraper held flat can lift softened residue without scratching.
- Darkened silicone along the bottom edge: mould-stained sealant does not clean back to white. If the stain is in the silicone rather than on it, the fix is to cut out and renew the sealant bead, not to soak it in bleach.
- Around sockets and the hob controls: use a well-wrung cloth only — never spray liquid directly at fittings.
- Rust-coloured marks left where wet metal tins, pan lids or utensils have stood against the surface: treat them the way you would on a worktop — our guide to how to remove rust stains from a kitchen countertop walks through the same gentle paste method and when to stop.
What to Avoid: Cleaners and Habits That Damage Splashbacks
- Mixing products — above all bleach with vinegar or ammonia. Use one mild product at a time and rinse between products.
- Abrasive scourers, steel wool and gritty cream cleaners on glass, stainless steel, acrylic or laminate — the scratches are permanent.
- Vinegar, lemon and other acids on natural stone (and heavy, repeated acid use on grout).
- Oven cleaner and other caustic sprays on splashback surfaces — they are formulated for oven interiors and can strip finishes, discolour steel and damage acrylic and laminate.
- Scrubbing harder instead of soaking longer. Grease that will not move needs more softening time, not more pressure; pressure is what does the damage.
- Leaving the surface wet or soapy. Residue and water marks are the main reason a cleaned splashback looks dirty again quickly.
How to Stop Grease Building Up in the First Place
Prevention is mostly one small habit: wipe the splashback while it is still warm. Straight after cooking, while the panel is warm but the hob is off and safe to approach, a quick pass with a damp microfibre cloth and a drop of dish soap lifts the day’s film in under a minute — before heat and time bake it on. Grease that is removed daily never becomes the weekend scrubbing job.
Beyond that: use lids and a splatter screen when frying, keep the extractor fan running while you cook and for a few minutes afterwards (and clean its filters — a clogged filter stops catching grease and lets it reach the wall instead; most metal mesh filters can be soaked in hot water with dish soap, rinsed and dried fully before refitting, and a filter that drips or smells is telling you it is overdue), and deal with splashes near the hob the same day rather than at the weekend. For the full picture — cooking habits, fan use and surface protection — see our guide on how to protect a kitchen backsplash from grease.
How Often Should You Clean Your Kitchen Splashback?
Match the effort to how you cook. A quick warm wipe after cooking is the daily habit that does most of the work. The full five-step routine suits a weekly clean for households that fry or roast often, and every two to three weeks is enough for lighter use — as long as the daily wipe happens. Grout lines and the area directly behind the hob deserve a closer look once a month, since that is where build-up starts. If the surface feels tacky to the touch or looks dull in daylight even after a wipe, it is telling you the deep clean is overdue.
Frequently Asked Questions
What is the best thing to clean a kitchen splashback with?
For most splashbacks, hot water with a few drops of dish soap is the best everyday cleaner — it is a real degreaser and is safe on glass, tile, steel, stone and acrylic alike. Add a baking soda paste for baked-on grease on glass, tile and steel, and keep vinegar for glass and glazed tile only.
How do I get grease off a glass splashback without streaks?
Soften and wash it with hot, soapy water first — streaks usually come from trying to polish grease rather than remove it. Then spray a half-and-half white vinegar and water solution, wipe over, and buff immediately with a clean, dry microfibre cloth until the panel is completely dry.
Can I use vinegar on a stone splashback?
No. Vinegar and other acidic cleaners etch natural stone such as marble and granite, dulling the surface permanently. Use hot water with a drop of pH-neutral cleaner or dish soap, rinse, and dry thoroughly.
How do I clean discoloured grout on a tiled splashback?
Work a paste of baking soda and water along the grout lines with an old soft toothbrush, leave it for a few minutes, then rinse and dry. Avoid flooding grout with acidic cleaners, and if the grout still looks dark once clean and dry, it likely needs re-sealing or re-grouting rather than more scrubbing.
Why does my splashback look dull again a few days after cleaning?
Usually residue: soap or cleaner left on the surface dries into a film that grabs dust and grease faster than a clean surface would. Rinse with a clean, hot, well-wrung cloth after washing, and always finish by buffing the panel completely dry.
Can I use a steam cleaner on my splashback?
Only with caution, and only if the splashback manufacturer allows it. Steam is effective on grease, but it can soften grout and sealant, force moisture behind panels, and damage acrylic, laminate and some seals — and a jet of steam anywhere near sockets is a safety problem. For most splashbacks, the hot-cloth softening step in this routine gives the same benefit without the risk.
How do I get rid of the stale cooking smell on the splashback?
The smell lives in the grease film itself, not in the surface. A full degrease — soften, soapy wash, paste where needed — followed by a thorough rinse and dry removes the film and the odour with it. If the smell returns within days, grease is usually hiding on the extractor filter or the strip of wall above the panel; clean those too.
Final Thoughts
A clean splashback is less about strong products than about order and timing: soften the grease, wash it off with soapy water, use a paste only where the build-up demands it, rinse properly and buff dry — then adjust the details to your material and never use the handful of things that damage it. Add the one-minute warm wipe after cooking, and the deep clean stops being a dreaded job at all: the surface simply stays the way it looked the day it was fitted, one ordinary day at a time.

Hello! I’m trying to explore more and provide my readers with more. Besides being a writer, I’ve also worked as an Editor and Proofreader.